
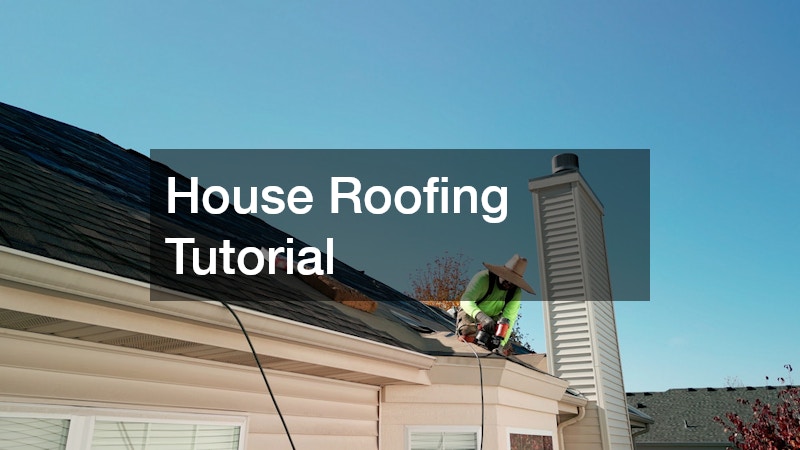
Taking on a roofing project for your home may seem intimidating, but understanding the core steps makes the entire process far more manageable. Whether you are preparing for a full roof replacement or just want to know how professional roofers work, the basics remain the same. This house roofing tutorial walks you through the essential phases, tools, safety considerations, materials, and installation techniques involved in a roof replacement.
If you want to save money, communicate better with contractors, or simply understand how your roof is built, this guide gives you the foundation you need.
Understanding When You Need a Roof Replacement
Before learning the steps, it helps to know the signs that indicate a roof replacement is necessary. Common red flags include:
Shingles curling, cracking, or falling off
Soft or spongy areas on the roof
Persistent leaks or water stains on ceilings
Moss or algae growth
Granule loss showing bare shingle surfaces
Sagging roof decking
Flashing around chimneys or vents separating
If your roof is 20+ years old, odds are high that a roof replacement will be needed soon. A professional inspection can confirm this.
Step 1: Prepare and Work Safely
Safety is the top priority for any roof replacement project. Roofing is performed at height, on angled surfaces, and under variable weather conditions. Beginners should follow these safety guidelines:
Wear slip resistant shoes
Use a stable extension ladder
Never work alone
Use fall protection when possible
Check roof conditions before stepping on it
Avoid working during rain or heavy wind
Most homeowners hire professionals for a roof replacement due to these risks, but understanding safety basics helps you make smarter decisions.
Step 2: Gather the Right Tools
A proper roof replacement requires the right equipment. Common tools include:
Roofing hammer
Utility knife
Pry bar for removing shingles
Chalk line for straight rows
Roofing nail gun and compressor
Shingle cutter or shear
Magnetic nail sweeper
Safety harness if needed
Contractors bring specialized tools that make the job faster and cleaner, but familiarizing yourself with the list helps you understand the process.
Step 3: Remove Old Shingles and Materials
The first major stage of a roof replacement is tearing off the old roofing. This step includes:
Removing shingles and nails
Pulling up underlayment
Disposing of debris in a dumpster
Inspecting the roof decking
This is labor intensive but crucial. A clean deck ensures the new roof bonds properly and lasts its full lifespan. If soft or rotten sections of decking are discovered, they must be replaced before continuing.
Step 4: Inspect and Repair the Decking
After the tear-off, the roofing crew inspects the deck for structural damage. Repairs may include:
Replacing rotted plywood
Reinforcing weakened sections
Checking trusses and rafters
Ensuring the surface is smooth and nail-ready
A high-quality roof replacement always begins with a solid, clean deck. Skipping this step leads to sagging, leaks, and uneven shingles later on.
Step 5: Install Drip Edge and Underlayment
The next step is adding water protection layers.
Drip Edge:
Metal strips installed along roof edges to direct water off the roof and into gutters.
Underlayment:
A protective barrier (felt or synthetic) that sits between the decking and shingles. It shields your home from moisture and ice dams.
Most modern roof replacement projects use synthetic underlayment because it resists tearing, repels water, and lasts longer than traditional felt.
Step 6: Install Flashing and Waterproof Barriers
Flashing is installed around chimneys, valleys, skylights, and vents. These areas are the most vulnerable to leaks, so proper flashing work is essential. Ice and water shield is often added in valleys and low slope areas to provide extra moisture protection.
This is one of the most skilled parts of a roof replacement. Poor flashing work is the number one cause of leaks in older roofs.
Step 7: Install the Shingles or Roofing Material
Now the visible part of the roof replacement begins. The installer starts at the lower edge and works upward in horizontal rows. Key steps include:
Snapping chalk lines for straight alignment
Placing starter strips along the edges
Nailing shingles with proper spacing and pattern
Staggering joints to prevent leaks
Ensuring clean rows and strong adhesion
Whether you choose asphalt shingles, metal panels, tile, or composite materials, the installation pattern remains similar: bottom to top, left to right, with careful alignment. High-quality installation is what determines whether your roof lasts 15 years or 40 years.
Step 8: Install Ridge Caps and Ventilation
At the top of the roof, installers place ridge caps to seal the peak. They also integrate ventilation components like ridge vents or box vents. Good ventilation:
Extends roof lifespan
Prevents moisture buildup
Reduces attic heat
Lowers energy bills
This is a critical finishing step in a roof replacement.
Step 9: Final Cleanup and Inspection
After installation, a proper cleanup must be done:
Sweep the roof for loose nails
Use a magnetic roller around the yard
Clear gutters of debris
Inspect flashing and seams
Ensure proper sealing around vents
A thorough inspection guarantees the roof replacement meets industry standards.
Final Thoughts
A roof replacement is a major project, but understanding the process helps homeowners stay informed, spot quality workmanship, and avoid costly mistakes. From removing old materials to installing the final ridge caps, every step builds toward a durable, long-lasting roof that protects your home.